Hey, hello guys, in this post we’re going to see how to do the editing that you saw in the preview.
Okay guys, the edit you saw in the preview can be done using two different methods. The first step is to use the Kling AI or the Kling AI website to do the editing.
The second method is to use an app called PixVerse; we can use that app to do the editing. Okay, now let’s see how to edit using the first method.
Method 1 – Edit Videos with Kling AI
Now, in your browser, search for ‘Kling AI. Once you search and enter the site, you’ll see ‘Kling AI’ with a black icon; click on that. Now, at the bottom, you’ll see ‘Explore Now’; click on that.
Now, at the top, you’ll see ‘AI Video’; click on that. Okay, once you click on this and enter, you’ll see an advertisement playing; there will be a cross button at the top. Click on it to close it. Now, in the third option, you’ll see ‘Motion Control’; select that.
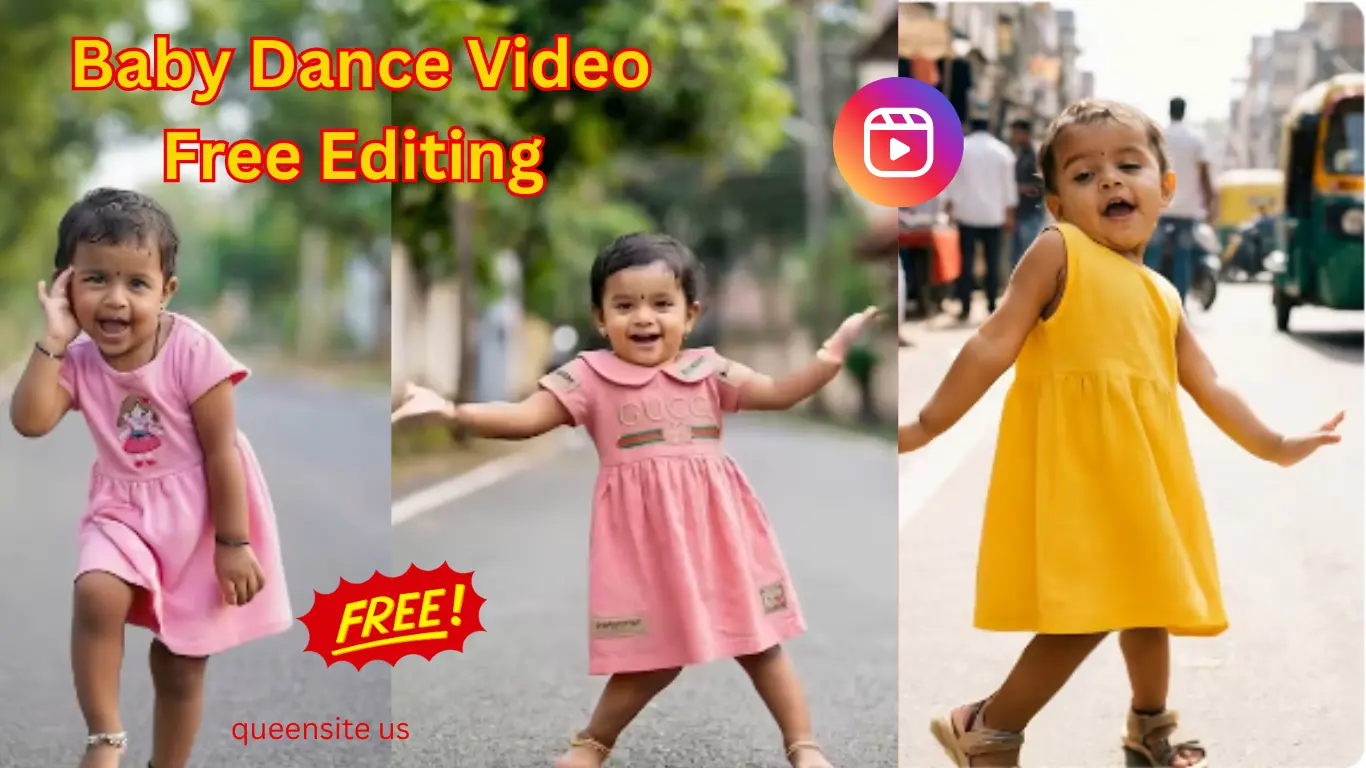
Now, it shows the first two options, Add Video Character. Here, you need to add the video. Okay, bro, you might be asking, which video should I add here? Now, you might have seen children’s videos on Instagram. Download your favorite dance video here. After downloading it, you need to upload it here, okay? I have provided a sample video on the Telegram channel; you can click on it and download it.
How to Sign In & Upload
Okay, now, if we try to upload the video here, it will ask you to sign in. So, what you need to do is click on “Sign in with Google” and log in using your Gmail ID. Okay? After signing in, the video will start uploading like this. Now, after the video starts uploading, the next thing you need to do is ‘Add Character Image.’ You can add your photo or a photo of another child, whatever you want.
As you can see, I have selected both our video and our image, and I need to click upload here. It’s uploading; let’s wait for a while until it finishes uploading.
Setting Standard Mode & Output
Okay, now you can see that our video and our image have been uploaded. Now, the next thing you need to do is, as you can see below, there’s ‘Standard’; click on it and keep it as Standard. If it’s in Professional mode, change it to Standard.
After setting it to Standard, there’s ‘Output’; make sure it’s set to one. Okay, after changing both the things I mentioned, now click on the ‘Generate’ button at the bottom, which is green in color.
Managing Credits
When you click on it, you’ll see something like this: ‘You are running out of credits. ‘ What happened is, as you can see, our credits are currently 140, which is low. To get more credits, we need to purchase them. You can see how much it costs. We will have to buy them with money.
Now, when we log in with a Gmail ID for free, we get 66 credits for free. So, what you need to do is reduce the size of the video we uploaded. Try reducing the video size, and it should work.
Okay, as you can see, I have uploaded a small video. Now, you can see that only 50 credits are enough to generate our video. Now I’m clicking on generate. If you encounter any errors like this, then you will be prompted to pay an amount. If you are willing to pay, you can pay and generate videos. But if you think, “No, I can’t pay any amount; I want to do it for free,” then there is a second method for you. Let’s see how to do that.
For some people, the video will be generated without any errors. But for me, it didn’t work. I tried many times, but it didn’t work for me from Kling AI. So, let’s go to the second method. If the first method works for you, please let me know in the comments below. If the second method worked for you, please mention that in the comments as well. Okay? I want to know if it worked for others or if it’s just me. Okay, next, let’s see how to do the second method.
Method 2 – Edit Videos with PixVerse AI
Download & Sign In
Okay, now open your Google Play Store and search for ‘PixVerse AI. As soon as you search for PixVerse, this app will be shown first. Click on it and download it. Okay? After downloading, let’s see what to do next.
Now you can see that my app, the application, has been downloaded. After downloading it, I’m opening it. As soon as you open it, you’ll see “Login with Google.” Click on “Login with Google” and log in using your Gmail ID., Okay? We must follow the same steps here that we did with Kling AI. We can do it very simply.
Now I’m clicking on “Login with Google.” Wait for a while, and it will log in. Okay, now just add your nickname; add any name. I’m adding my name. Okay, you can enter the details below if you want, or you can leave it blank; it’s not a problem. Just click “Let’s Start.” After clicking “Let’s Start,” wait for a while and allow all the permissions.
Earning Free Credits
In this app, they give us credits for free. Unlike Kling AI, we can use this for free. We logged in by entering our name. They would have given us 60 points just for signing in. Besides that, they will give us 30 points daily. So, if you complete the tasks in this app, you will get free credit points. Using that, you can edit the video for free.
Okay, now you can see that we have customized our profile. Look below; they have given us 30… or rather, 10 points for setting our name. We can claim that. Similarly, if you complete your small tasks, you will get free credit points. You can use those points to edit them.
Also, you can earn points by referring your friends. As you can see here, if you add or refer a friend, you will get 100 points. It will be mentioned like this. Okay, I have given the download link for this app in the description; you can click on it and download it directly.
Okay, now I’ll go back. After going back, you will see a plus button at the bottom. If you click on this plus button, first there will be an ‘Image,’ second there will be a symbol like a video, and third there will be something called ‘Mimic.’ Have you seen that? Select this option.
Uploading Video & Image
Now, at the bottom, there is an ‘Upload Video.’ Click on ‘Upload Video.’ Click on it and give permission. After giving permission, you will have the reference video that you are going to edit, right? You need to upload that video here. I have also provided that sample video on my Telegram channel. You can even use that and edit it, or if you have any video of your own, you can upload that video as well.
Now, I’m selecting my video and uploading it. Okay, my video is currently being uploaded. Now, if you look at the top, you’ll see ‘Upload Image,’ right? In this, upload your image, or your children’s image, or whoever’s image you are going to edit. Okay? Now, upload it and wait for a while; it’s being uploaded. I’ll tell you what to do after it’s uploaded.
Choosing Quality & Generating Output
Now you can see that our video has been uploaded. Next, the image is being uploaded at the top; please wait. Okay, now you can see that both our images and video have been uploaded. Now, if you ask what to do next, look below; you’ll see ‘360p,’ right? Select that. You can change the video quality if you want. As you change each quality setting, the credit points will increase or decrease accordingly. If you select the best quality, it says that it cannot be supported. So, I’m selecting a different quality.
Okay, now I’ve selected 720p. Now, if you look at the credit points, it shows that we need 60 points. Okay, as you can see, we have more than 60 points, so we can click on the ‘Create’ option. After clicking the Create option, it will look like this, and we’ll return to our screen. Next, you might ask what to do. Now look below; there’s this last option. Go into that last option. Here, our video is being created. Just wait for a while, and our video will be generated, and we’ll get the output.
Kling AI vs PixVerse Which Is Better?
That’s it, guys; we edited this video very simply. Okay guys, we’ve now seen how to edit using two methods. Now, did the first method using Kling AI work for you, or did you edit using the PixVerse application? Which method was useful for you, and which method worked? Don’t forget to let me know in the comments below.