Hello friends, let’s look at the essential procedures that those who are going to register for the first time must follow. If you are going to register with the welfare board for any profession, the procedure is the same. You only need to correctly select the profession and the welfare board. This is the procedure. Through this, you can find complete information on how to register online.
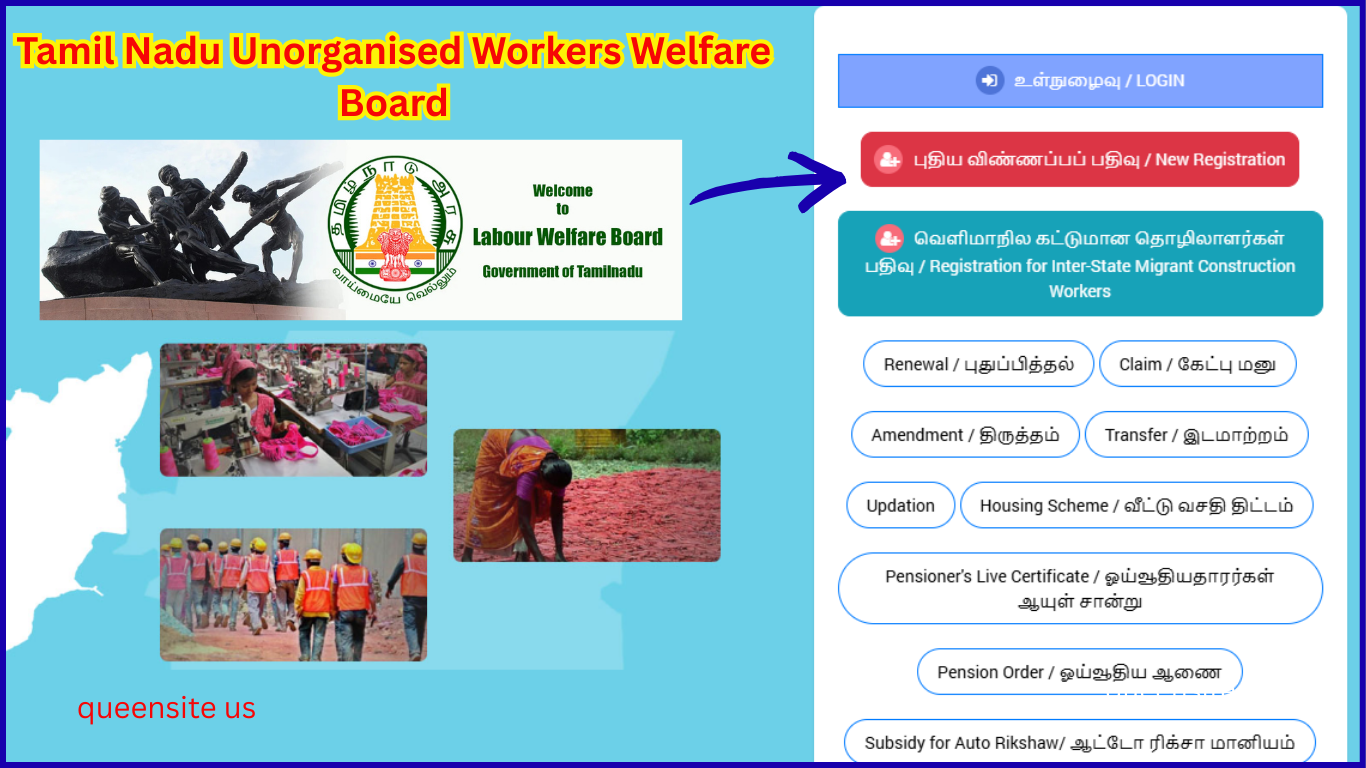
Open any browser. Type “Welfare Board” in it. The first link will appear as ‘Tamil Nadu Unorganised Workers Welfare Board’; click on it. You will automatically be taken to the official page, a page like this. In this, you will see ‘New Application Registration’ and ‘New Registration.’ Touch that. Once you touch it, it will show you what procedures you need to follow.
Documents Required for Tamil Nadu Welfare Board Registration Online
Let’s see what documents are required first. They have asked for a work certificate. Check it for reference. They have asked for an identity certificate. Regarding the identity certificate, you can provide a transfer certificate, driving license, voter ID, Aadhaar card, etc., as your identity proof. They have asked for your family ration card. They have asked for the first page of your bank passbook. Your Aadhaar card.
Finally, you also need to select a nominee. As a nominee, you can mention anyone whose name is on your ration card. You must mention one of them as your nominee. They have given the information that you cannot add members who are not family members or who do not have a ration card.
They will have given a ‘Register’ option. Type your mobile number there. They will have given a ‘Login’ option; you need to click on that. You will receive an OTP on the mobile number you provided. Enter the OTP number and click ‘Submit.’ Next, pages like this will open.
There are a total of five steps to complete the application.
- Personal details.
- Address-related information.
- You need to provide employment-related details.
- Next, bank-related details.
In the other details section, you will have to fill in the names of everyone on the ration card and who you are going to mention as the nominee.
Aadhaar Verification for Welfare Board Registration
As the first step, you need to verify your Aadhaar card. They have stated that you must provide the mobile number linked to your Aadhaar card. If the applicant has not linked their mobile number to their Aadhaar card, first link it and then proceed with the Aadhaar card verification. Type your Aadhaar card number correctly. They will have given ‘Verify Aadhaar Card’; click on that. An OTP will be sent to the mobile number linked to the Aadhaar card. Type that OTP and click on ‘Verify OTP.’
Next, pages like this will open for you. In this, they will have mentioned the Welfare Board. If you click here, you will be asked for details regarding the welfare board. If you are a driver, or if you are in a profession like vehicle inspection, you can select ‘Unorganized Drivers Welfare Board. ‘If you are a construction worker or engaged in similar manual labor, select ‘Tamil Nadu Construction Workers Welfare Board.’
Here, you will see ‘Names of the Boards. ‘After selecting the name of the board, you will be asked for the ‘Name of the Worker.’ You need to type your name in English. Next, on the right-hand side, type your name in Tamil.
They have asked for the father’s name. You will be asked whether you want to provide your father’s name or your husband’s name. If it’s your father’s name, select ‘Father’s Name’ and type his name in English below. On the right-hand side, you will need to type his name in Tamil.
Your mobile number will be automatically retrieved. Next, they have asked for your gender; select whether you are male or female. If you click on your date of birth, they will display the details. From there, select your year, date, and month.
They have asked for proof of age. If you click on the age certificate option, you can choose whether you are submitting a birth certificate, school certificate, ration card, or voter ID card—select one of these. Then, you need to upload the selected document by clicking ‘Choose File.’ Before uploading, ensure the file size is within 500 KB and that it is in PDF, PNG, or JPG format.
After that, they have asked for your community. Specify your community, religion, and marital status. If you are married, indicate that you are married; otherwise, indicate that you are not married.
Family ration card details are provided. They have asked if you have applied for a new ration card or if you already possess one. If you have applied for a new one, select the first option. If you already have a ration card, select the second option. If you select the second option, they will ask for the ration card number.
You also need to upload the ration card by clicking ‘Choose File.’ Once you’ve checked that you’ve typed everything correctly on this page and clicked ‘Next,’ the next page will be for your permanent address. There will be fields for your door number, address line one, and address line two. On the left-hand side, type your complete address. On the right-hand side, you will have to type the same address in Tamil.
On the right side, you will have to type it in Tamil. They have asked for your state; select it. You need to select your district and your taluk/sub-district. They have asked for your village; select your village. They have asked for the pincode number; you need to type your pincode number. If your permanent address and current address are the same, click on “Same as permanent address” here, and it will automatically fill in the same address you entered above.
If your present address is different, you need to type all the details here. Enter the door number, street name, and then the state, district, taluk, and village, and then type the pincode number. After that, you need to click on the “Next” option.
You will then move to the section for filling in employment details. If you are self-employed, select this option and provide the details. No, if you are working in another place, you need to click on “Employee.” If you are self-employed, they will ask how many years you have been self-employed; type that in and then click on “Nature of work.” When you click on it, they will show many options.
For example, they will show all kinds of job-related details such as electrician, mechanic, well digger, laborer, welder, etc. Select your profession, whatever you do. If you are a laborer, click on “Laborer.” Next, click on the “Next” option.
Next, they will ask for your bank details. Provide your bank details correctly and clearly. Because in the future, when you apply for this scheme and when the claim is processed, the amount will be received in this bank account. So, click on “Bank Name” and select your bank. They have asked for the branch name; write the name of the branch. They have asked for your bank account number; enter it, and on the right side, they have given an option to re-enter the account number; enter it again.
They will ask for the IFSC code; type the IFSC code. They have asked for the MICR code; it will be in your bank passbook, so please check and type it exactly as it is. If you scroll down, you will see an option to “Upload your bank passbook front page.” Click on “Choose file” and upload the image. Next, double-check all the details once again and then click on the “Next” option.
Next, you need to fill in the other details. The most important thing you need to do here is to mention the names of everyone whose name is on your ration card. For example, they have asked for the first name; mention the name. They have asked for the gender; select whether it is male or female. Enter the date of birth exactly as it appears on their Aadhaar card. In the relationship section, you need to select what relationship they have to you. You also need to indicate whether they are married or not.
Next, if you are going to add another name, for example, your child’s name, click “Add More,” and another column will appear. Again, you need to mention the name, gender, date of birth, relationship, and marital status without fail for everyone. Only if you mention everyone’s name will you be able to claim using their names, and only then will you receive the amount.
Next, select the nominee. When selecting the nominee, you can only select one of your family members whose name is on the ration card as the nominee. Write the name, then the house number. Address lines one and two are given; note them down. They have asked for the state, district, taluk, village, and postal code (Pincode). Next, you need to specify the relationship of the person to you. After providing their date of birth, the system will automatically calculate their age.
The percentage of the amount is given; you should mention 100%. They have asked for documents; you should upload the nominee’s Aadhaar card. They will ask for the worker’s photograph; you need to upload the photo and signature of the person in whose name you are applying, using the “Choose File” option.
Next, you need to provide details of who issued your work certificate. Did you obtain the signature from a registered worker with a registration number? Did you get it from your employer? Or did you get it from the VAO (Village Administrative Officer) or RI (Revenue Inspector)? The options will be given below; you need to select the appropriate one. Below that, your details will be requested.
For example, if you obtained it from the VAO or RI, they have asked for the village; you need to mention the village. You need to type the address where the VAO’s office is located. They will ask for the date you started working at the office; you need to mention the date. You need to upload the work certificate given by the VAO using the “Choose File” option. Finally, if you upload a copy of your Aadhaar card using the “Choose File” option, the entire process will be complete.
If you scroll down, you will find “Take Photo.” You need to take a live photo of the applicant. After taking the photo, if you click “Next,” all the details you filled in will be shown to you as a preview. Check once to make sure everything is correct. Finally, if you click “Submit,” you will automatically receive a receipt confirming your registration. You can even use that receipt to track the status—you can check whether it has been approved or not.
Application form: https://tnuwwb.tn.gov.in/docs/Employm…